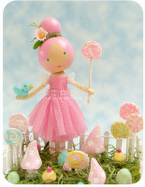
finally got this posted up, been meaning to share this for ages, but just didn't seem to get around to it, so cardarian this is for you hun!!
this flower technique can be done with double sided paper strips, ribbon, lace, fabric, endless possibilities!
( and pleaseeeeeeeee excuse the chip nail polish and some blurry pics, was trying to do and take photos at the same time, I also ran out of nail polish remover!)
Ingredients
- tissue paper strips, cut to about 2 inches wide (I leave all the layers together, don't separate or otherwise the tissue paper will be too delicate to work with)
- adhesive, wet glue, I used glossy accents
- approx 2 inch circle, (I used a scallop punch as I don't have a circle that size, you don't need the scallop design)
- scissors
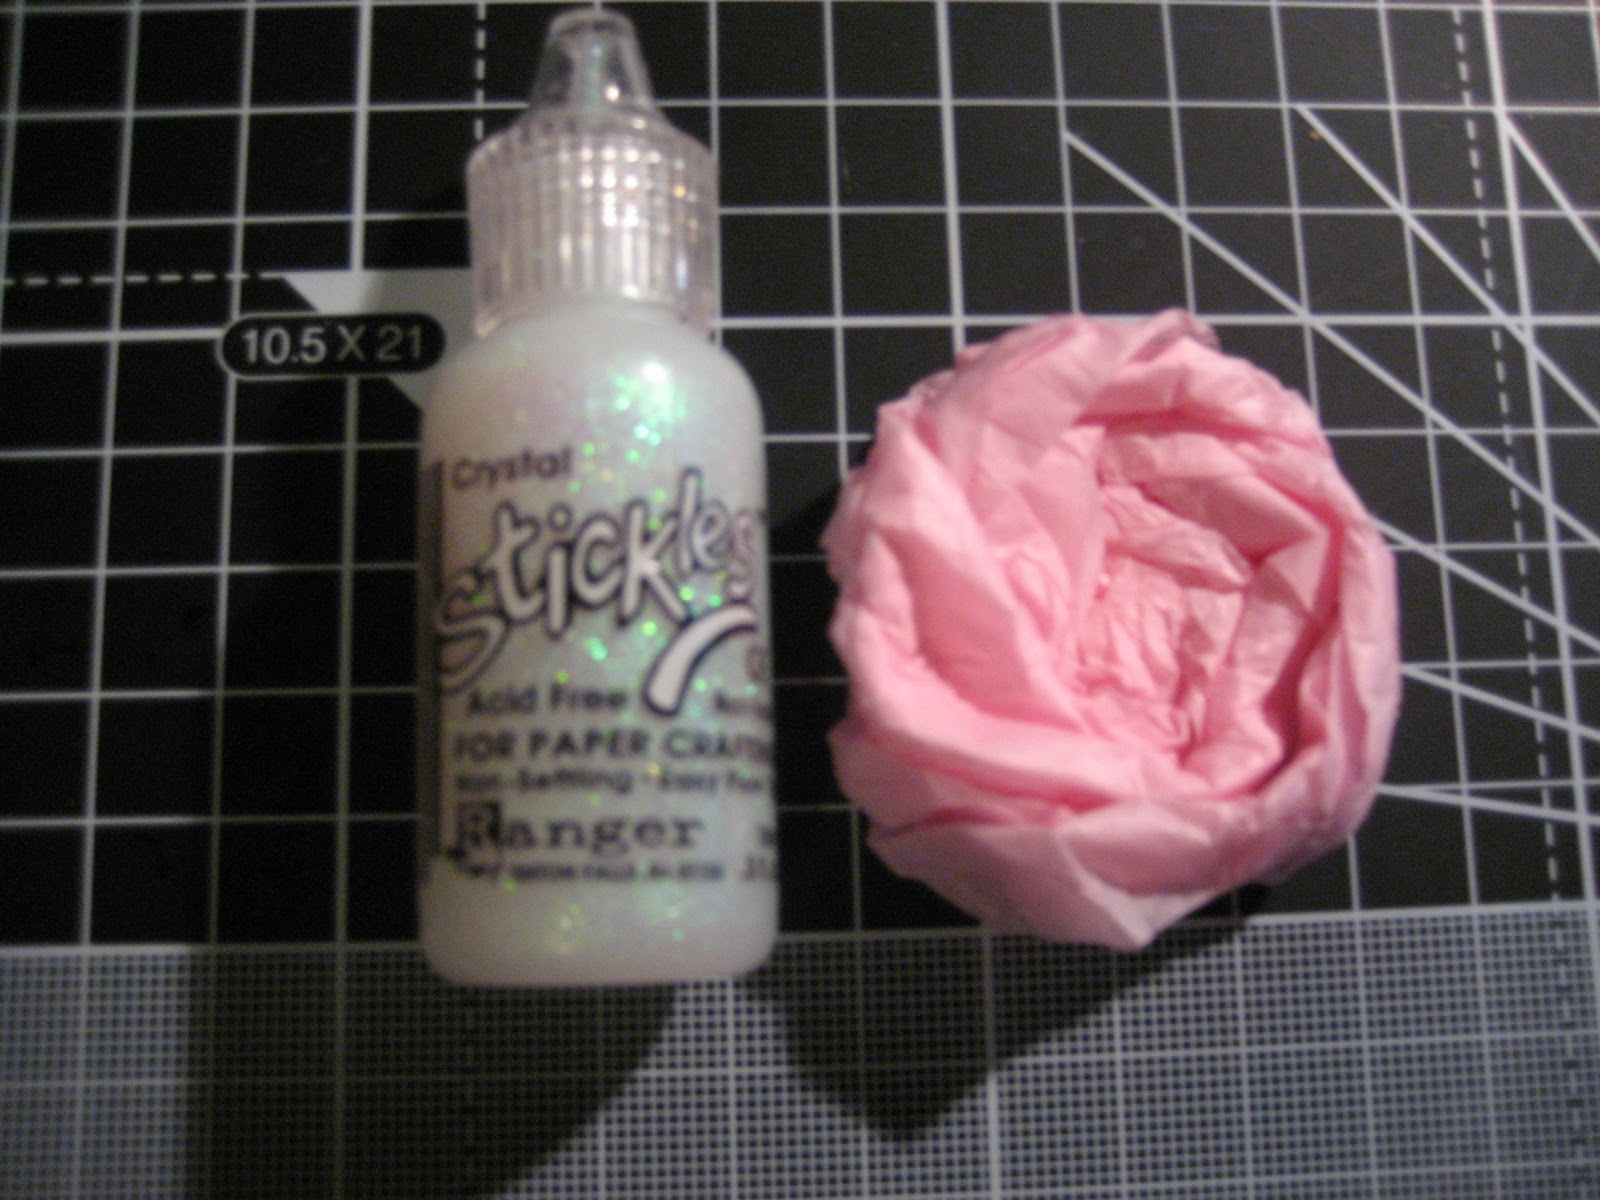
- glitter glue,
- button , gem or pearl.
Step 1
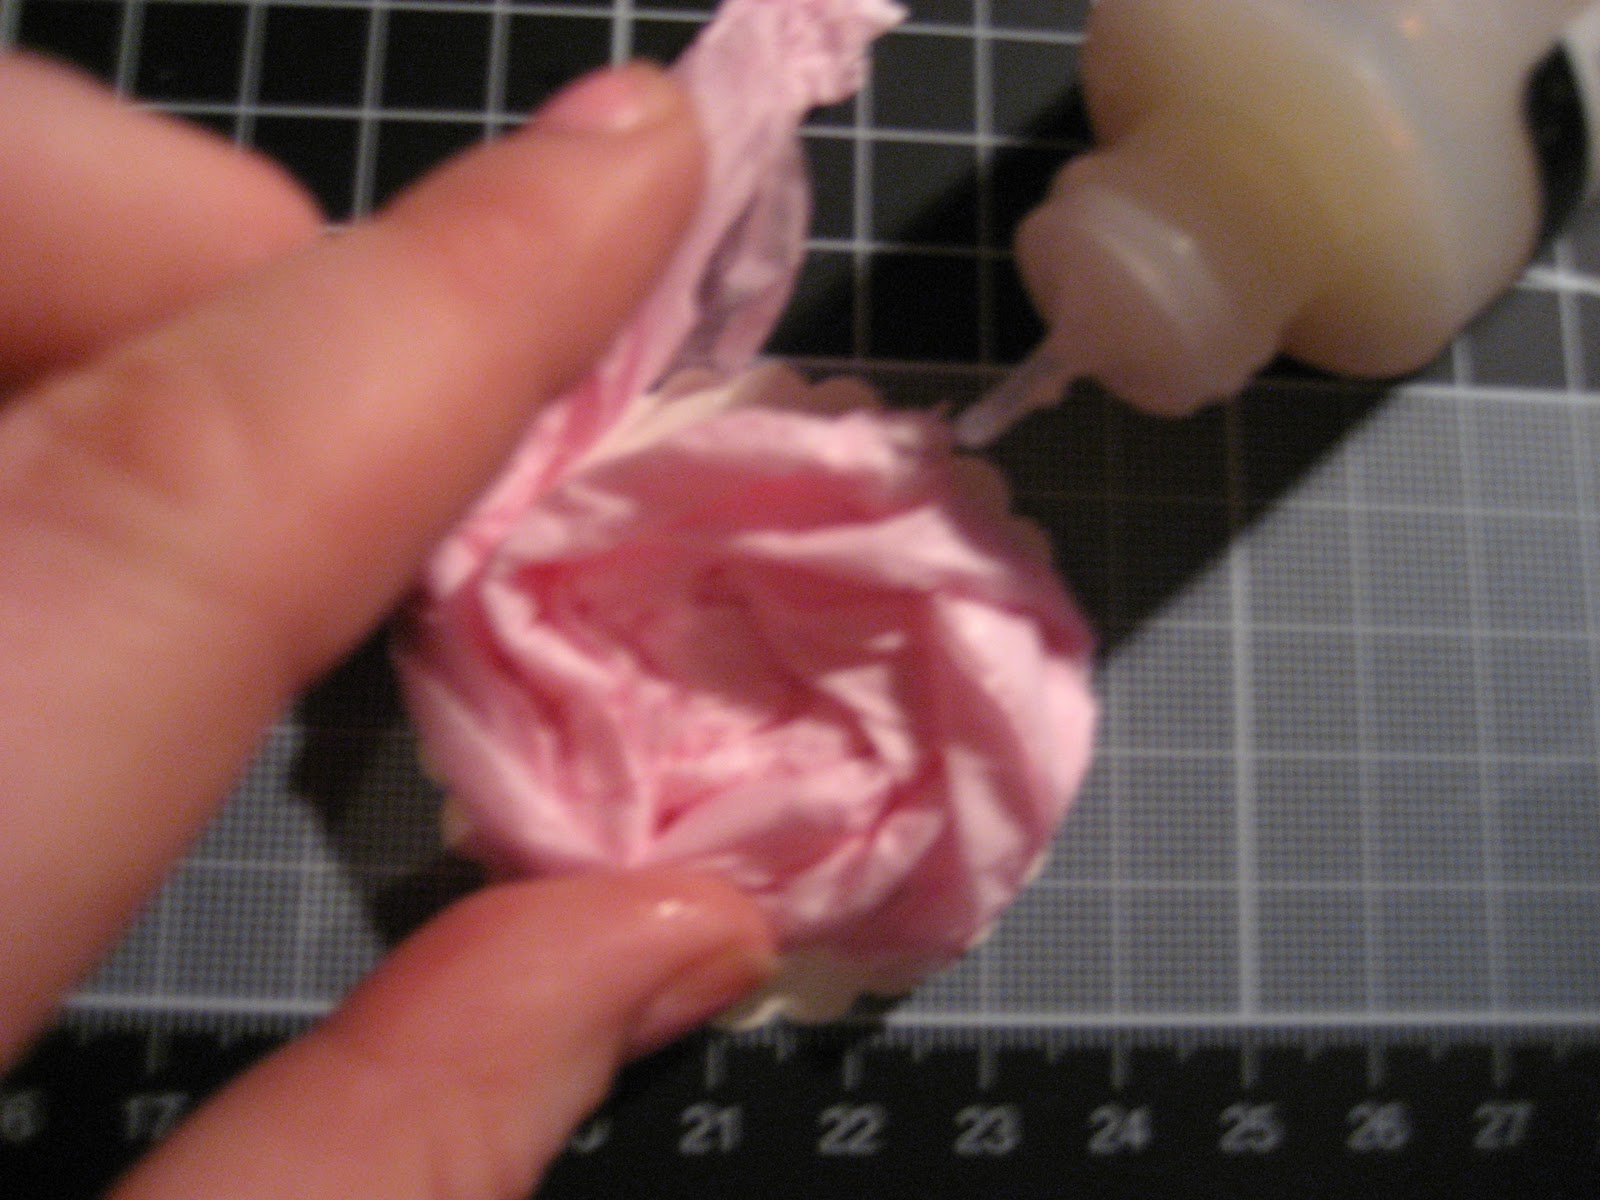
Scrunch the end of you tissue paper into a little ball, then glue this to the center of the circle to anchor.
Step 2
Start by twisting the tissue paper loosely and glue as you go in small sections, working in a spiral pattern.
Step 3
Continue this twisting and sticking until you reached your desired size flower, leaving approx 1 inch on end to finish off flower. do this by lifting the flower back a bit from its circle base, add a blob of glue and tuck the end of the tissue paper into this gap between flower and base, press down to hold.
Step 4
trim the card that is left exposed around the edges of your flower.
Step 5
using a glitter glue, I used a clear stickles, place blob on your finger and rub over the surface of your flower.
Step 6
Finish off your flower by placing a gem, pearl of button in the center.
eh voile!! you have now completed a very addictive making flower, hope you enjoy making these flowers as much as I do!!
hugs xx